My Environment
- Unifi NVR (2tb) running:
craig_admin@UniFi-Video:~$ uname -a
Linux UniFi-Video 3.18.28-ubnt #1 SMP Wed Jun 22 20:05:08 UTC 2016 x86_64 GNU/Linux
- Unifi-Video version 3.10.13
Resources
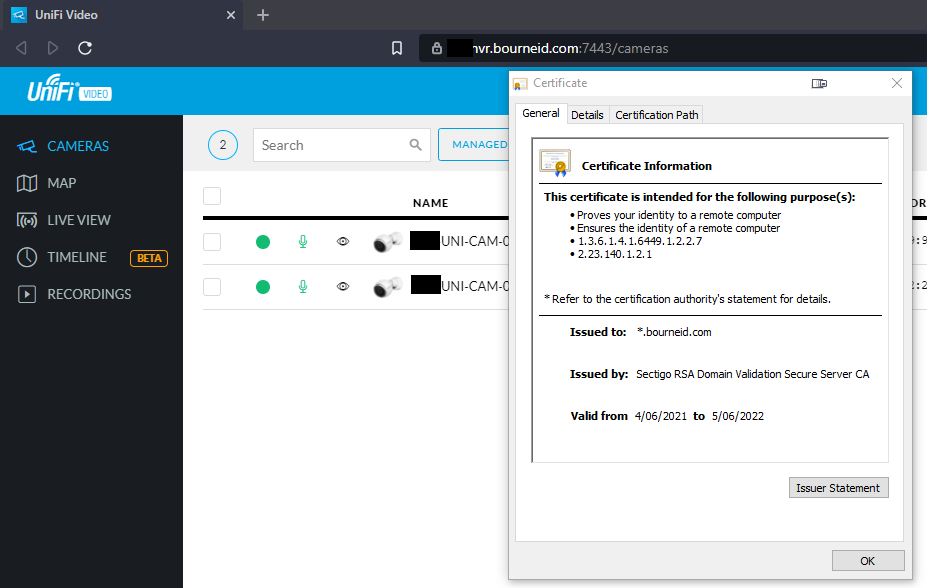
- The official guide for installing Custom SSL Certificates for Unifi Video
- This very helpful forum post by wharrgarbl that I used after being stuck for hours
I’ve archived a copy of this forum post in case it ever disappears. Download it here.
Preparation
You will need the following:
- SSH or console root access to Unifi Video. I used Mremote as the SSH client.
- WinSCP access helps for copying files to the Unifi Video server
- Your Private Key from your Public/Private Key Pair. It should have the file extension of .key and when opened in a text editor, should look like the following:
-----BEGIN PRIVATE KEY-----
<base 64 encoded private key>
-----END PRIVATE KEY-----
- Your Certificate file. It probably has a file extension of .crt and if you open it in a text editor, it will look like this:
-----BEGIN CERTIFICATE-----
<base 64 encoded certificate>
-----END CERTIFICATE-----
Each of these files are in PEM format, which is just a Base64 encoded binary file so that they can be read as text files. Decoding these files will result in mainly non-printable characters. For more info have a read about Privacy-Enhanced Mail.
- In my example, the certificate file has been renamed: ufv-server.cert.pem
- In my example, the private key file has been renamed: ufv-server.key.pem
- OpenSSL. You can install it on Windows, or use Git Bash or a Linux system with OpenSSL.
Installation
- Copy the certificate and private key file to your Unifi Video. I used WinSCP and logged in as root.
- Stop the Unifi Video service:
service unifi-video stop
- Now we’re going to use openssl to change the format of each file from PEM to DER which is the binary format that Unifi Video requires.
openssl x509 -outform der -in ufv-server.cert.pem -out ufv-server.cert.der
openssl pkcs8 -topk8 -inform PEM -outform DER -in ufv-server.key.pem -out ufv-server.key.der -nocrypt
Please view the OpenSSL documentation for details on what this is doing.
NOTE: I tried to perform these commands locally on my computer to transform the PEM files to DER files before transferring them to the Unifi NVR, however it wasn’t working. Performing these commands on the Unifi NVR worked for me. - Create a directory for the der files to be moved to:
mkdir -p /usr/lib/unifi-video/data/certificates
- Copy the .der files into that directory:
cp -pR ufv-server*.der /usr/lib/unifi-video/data/certificates
- Remove existing files as they will be recreated on startup (I suggest taking a backup of these files just in case you want to revert)
rm -rf /usr/lib/unifi-video/data/keystore /usr/lib/unifi-video/data/ufv-truststore /usr/lib/unifi-video/conf/evostream/server.*
- Change ownership of the certificate files so that the unifi-video user can access them.
chown -R unifi-video:unifi-video /usr/lib/unifi-video/data/certificates
- Edit the /usr/lib/unifi-video/data/system.properties file:
nano /usr/lib/unifi-video/data/system.properties
- Add this line to the file:
ufv.custom.certs.enable=true
- Ctrl + X to save the file and exit.
- Start unifi-video
service unifi-video start

- Check.